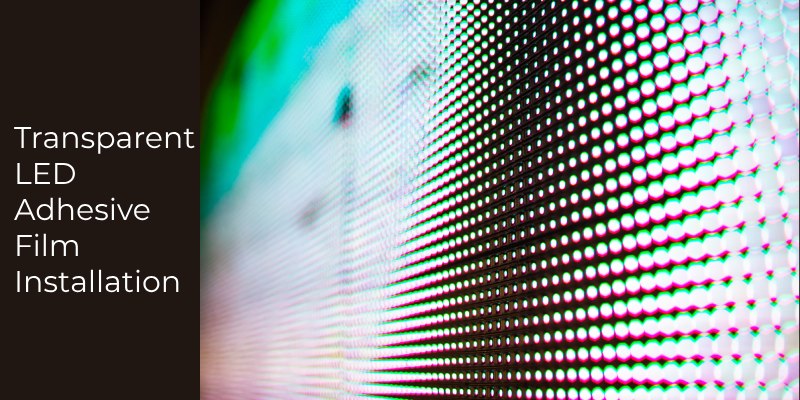
Transparent LED adhesive film is revolutionizing the way businesses and individuals display information, advertisements, and decorative visuals. This innovative technology offers a versatile and visually striking solution for various applications. Whether you’re enhancing your storefront, creating dynamic interior designs, or implementing engaging marketing displays, understanding the expert tips for transparent LED adhesive film installation is crucial for achieving optimal results.
Introduction to Transparent LED Adhesive Film
It is also known as LED screen film or glass film, a thin, flexible material embedded with LED lights. It allows for the creation of vibrant displays on transparent surfaces, such as glass windows, acrylic panels, or even curved surfaces. This technology combines the benefits of LED screens with the versatility of adhesive films, offering seamless integration into diverse environments.
Preparation Before Installation
Before beginning the installation process, it’s essential to prepare the installation area thoroughly.
- Assess Surface Condition: Examine the Surface where the films will be applied for any irregularities or damage.
- Clean Surface Thoroughly: Remove dust, dirt, and debris to ensure proper adhesion of the films.
- Check Power Supply: Ensure the availability of a reliable power source and proper connectivity for the films.
- Test Compatibility: Conduct a small-scale compatibility test to ensure the film adheres well without causing damage.
- Consider Environmental Factors: Take into account temperature and humidity levels, as extreme conditions can affect film performance.
- Prime Surface (if needed): Prime the Surface if necessary to improve adhesion, following manufacturer guidelines.
Choosing the Right Type of Transparent LED Adhesive Film
When selecting the appropriate transparent LED adhesive film for your project, consider several factors, such as:
- Evaluate Transparency: Choose films with the desired level of transparency for your application.
- Assess Brightness: Select films with appropriate brightness levels for clear visibility in different lighting conditions.
- Consider Resolution: Opt for films with high resolution for sharp and clear visuals.
- Prioritize Durability: Look for durable films designed to withstand environmental factors and frequent use.
- Explore Customization Options: Choose films that offer customization to meet specific project requirements.
- Budget Wisely: Evaluate the cost of films in relation to your budget, considering long-term performance and benefits.
Installation Process of Transparent LED Adhesive Film
The installation process of transparent LED adhesive film requires precision and attention to detail. Follow these expert tips for a successful installation:
Surface Preparation
Before installing the adhesive film, it’s crucial to prepare the surface adequately. Begin by meticulously cleaning the installation area to ensure optimal adhesion. Remove any dust, dirt, or grease using a gentle detergent solution and a soft, lint-free cloth. This step is vital for promoting strong bonding between the film and the surface.
Measurement and Assessment
Accurate measurement and assessment of the installation area are essential to determine the precise size and shape of the adhesive film required. Consider any obstacles or irregularities on the surface that may affect the installation process. This meticulous approach ensures a perfect fit and seamless integration of the film.
Film Preparation
Unroll the adhesive film carefully, avoiding creases or folds that could affect its appearance or functionality. Allow the film to acclimate to the installation environment for at least 24 hours to prevent potential warping or distortion once applied. This step ensures the film’s optimal performance and longevity.
Trimming (if necessary)
If the dimensions of the adhesive film do not match the installation area precisely, trim the edges carefully using a sharp utility knife or scissors. It’s essential to achieve precise cuts to maintain a seamless and professional finish. This attention to detail ensures a visually appealing result.
Positioning the Film
Carefully position the adhesive film onto the adhesive-coated surface, starting from one corner and gradually working across the entire area. Utilize alignment tools, such as spirit levels or laser guides, to ensure precise positioning and alignment. Proper alignment is crucial for achieving a professional-looking result.
Squeegee Application
Use a squeegee or similar tool to smooth out the adhesive film, removing any air bubbles or wrinkles in the process. Begin from the centre of the film and work outward toward the edges, applying firm and even pressure. This step ensures a flawless finish and optimal adhesion to the surface.
Heat Application (if necessary)
If the adhesive film requires heat activation, use a heat gun or heat lamp to gently warm the surface after application. This process helps activate the adhesive and enhances bonding between the film and the surface. Proper heat application ensures a secure and long-lasting installation.
Final Inspection
Thoroughly inspect the entire installation area for any imperfections or defects, such as air bubbles, wrinkles, or uneven edges. Address any issues promptly by gently lifting the film and repositioning it as needed. A meticulous final inspection ensures a flawless and professional-looking result.
Sealing the Edges
Apply a bead of clear silicone sealant along the edges of the adhesive film to provide additional protection against moisture and enhance the overall finish. Use a smooth, steady motion to achieve a neat and uniform seal. Proper edge sealing ensures the longevity and durability of the installation.
Testing and Activation
Before completing the installation process, test the functionality of the adhesive film to ensure that all components are functioning correctly. Verify that the display is showcasing images or content as intended. Make any necessary adjustments to settings or configurations to optimize performance.
Final Cleanup
Once the installation is complete and the adhesive film is fully operational, clean any excess adhesive or sealant from the surface using a mild solvent and a clean cloth. Dispose of any waste materials responsibly to maintain a clean and professional environment.
Common Mistakes to Avoid
Avoid these common mistakes during the installation process to ensure optimal results:
- Overstretching the film can lead to distortion and uneven lighting.
- Neglecting surface preparation, resulting in poor adhesion and potential damage to the film.
- Improper alignment and positioning lead to misaligned visuals and compromised aesthetics.
- Failing to test the functionality of the LED display before finalizing the installation risks operational issues later on.
Maintenance and Care Tips
To prolong the lifespan and performance of your transparent LED adhesive film, follow these maintenance tips:
- Regularly clean the Surface with a gentle cleaner and soft cloth to remove dust and smudges.
- Inspect the film periodically for any signs of damage or wear and address any issues promptly.
- Protect the film from physical damage by avoiding contact with sharp objects or excessive pressure.
Applications and Use Cases
Transparent LED adhesive film finds applications in various industries and settings, including:
- Enhanced Retail Displays: These films revolutionize storefronts with dynamic advertising displays, attracting customers with vibrant visuals.
- Innovative Interior Design: Transform architectural spaces with illuminated glass partitions and signage, creating modern and captivating environments.
- Informative Public Displays: Provide real-time information in transportation hubs and corporate settings, enhancing communication and user experience.
- Engaging Exhibition Displays: Captivate audiences at trade shows and exhibitions with interactive and attention-grabbing displays.
- Dynamic Event Branding: Elevate event branding and promotion with eye-catching LED displays, leaving a lasting impression on attendees.
Cost Considerations
The cost of transparent LED adhesive film installation depends on several factors, including the size of the installation area, the specifications of the film, and any additional customization or features required. While transparent LED technology may involve an initial investment, it offers long-term benefits such as energy efficiency and durability compared to traditional display solutions.
Conclusion
In conclusion, transparent LED adhesive film installation offers a transformative solution for creating dynamic and engaging displays in various environments. By following expert tips and best practices, businesses and individuals can achieve optimal results and harness the full potential of this innovative technology. From enhancing storefronts to creating immersive interior designs, transparent LED adhesive film opens up new possibilities for creativity and communication.
FAQs
- Is transparent LED adhesive film suitable for outdoor use?
- It is designed to withstand outdoor conditions, but it’s essential to choose a high-quality product with weather-resistant features for long-term durability.
- Can transparent LED adhesive film be customized to fit specific dimensions?
- Yes, many manufacturers offer customizable options to accommodate various installation requirements.
- What is the lifespan of transparent LED adhesive film?
- The lifespan of the film depends on factors such as usage, environmental conditions, and maintenance practices. However, high-quality films can last several years with proper care.
- How difficult is it to remove transparent LED adhesive film?
- Removing the film can vary depending on factors such as the type of Surface and adhesive used. In general, it’s recommended to seek professional assistance to ensure safe removal without damaging the underlying Surface.
- Are there any limitations to the types of surfaces where transparent LED adhesive film can be applied?
- This is versatile and can adhere to various surfaces, including glass, acrylic, and certain types of plastics. However, it’s essential to ensure that the Surface is clean, smooth, and free from any obstructions for optimal adhesion.