Smart film, a revolutionary technology that transforms regular glass surfaces into dynamic and controllable displays, has gained immense popularity for its versatility and functionality. In this comprehensive guide, we will explore How to Install Smart Film, ensuring a seamless experience and optimal performance.
Brief Overview of Smart Film
Smart film, also known as switchable film or privacy film, is a technologically advanced material that can alter its transparency when an electric current is applied. This transformative characteristic makes it an ideal choice for various applications, from residential windows to commercial spaces.
There are two main types of smart film: self-adhesive and non-adhesive.
The self-adhesive comes with an adhesive layer for easy application, while the non-adhesive film requires a separate adhesive to affix it to the surface.
Preparing for Smart Film Installation
Before installing the film, gather the necessary tools, prioritize safety, and assess the installation area. This groundwork ensures a smooth and successful installation process, maximizing the film’s effectiveness.
Necessary Tools and Materials
- Smart Film Kit: Ensure you have the complete kit provided by the manufacturer, including the film, electrical components, and accessories.
- Squeegee: Have a squeegee on hand to eliminate air bubbles and ensure smooth adhesion of the film.
- Utility Knife: Use a sharp utility knife for precise cutting of the film to fit the installation surface.
- Cleaning Solution: Use a non-abrasive glass cleaner to thoroughly clean the installation area.
- Microfiber Cloth or Lint-Free Paper Towel: Use a soft, lint-free cloth for wiping and drying the installation surface.
Safety Precautions
- Protective Gear: Wear gloves and safety glasses to protect your hands and eyes during the installation process.
- Well-Ventilated Area: Work in a well-ventilated space, especially when using cleaning solutions or adhesives.
- Electrical Safety: Turn off power sources before handling any electrical components during the installation.
- Caution with Tools: Exercise caution when using sharp tools like utility knives to prevent injuries.
- Secure the Area: Cordon off the installation area to avoid interference and maintain a controlled environment.
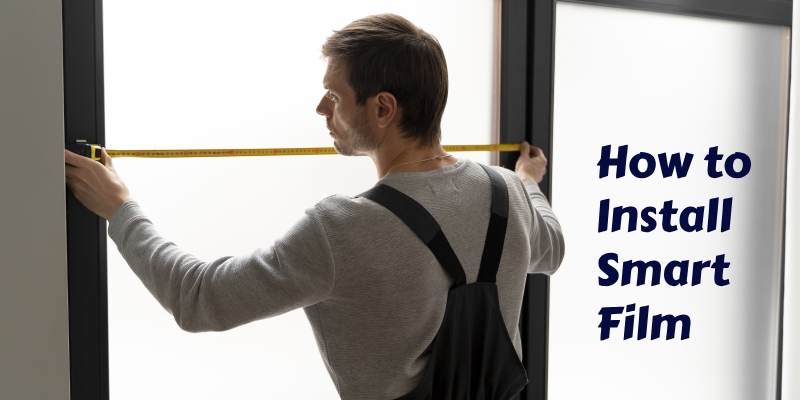
Assessing the Smart Film Installation Area
- Surface Cleanliness: Inspect and clean the installation surface thoroughly to remove dirt and residues.
- Smoothness of the Surface: Check for surface smoothness, as uneven surfaces may affect film adhesion.
- Surface Size and Dimensions: Measure accurately to cut the film to the correct size, considering obstacles.
- Ambient Temperature: Be mindful of the ambient temperature, as extreme conditions can impact film performance.
- Accessibility: Ensure easy access and sufficient space for movement during the installation process.
Step-by-Step: How to Install Smart Film
Let’s explore the step-by-step guide on How to Install Smart Film:
1. Cleaning the Installation Surface
The first crucial step in installing Switchable film is ensuring the cleanliness of the surface. Use a gentle, non-abrasive cleaner to remove any dirt, dust, or fingerprints. Pay special attention to corners and edges, as these areas are prone to collecting debris. A microfiber cloth or lint-free paper towel is recommended to avoid leaving particles that could affect the film’s adherence.
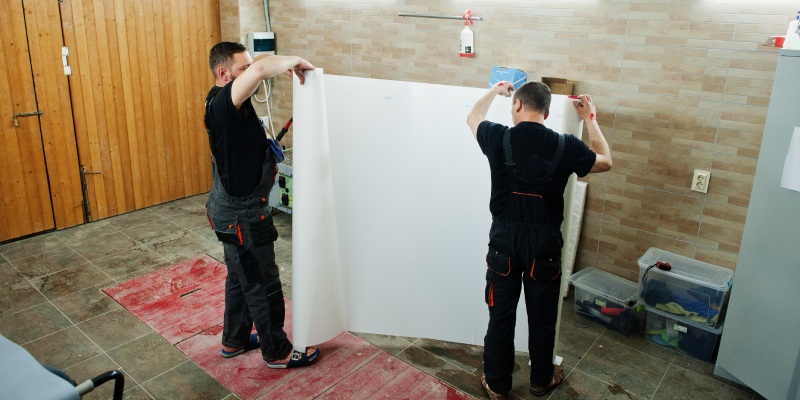
2. Applying the Smart Film
Once the surface is impeccably clean, it’s time to apply the film. Begin by peeling off the protective backing, exposing the adhesive side of the film. Align the film carefully with the installation surface, starting from one edge and gradually smoothing it down to the opposite edge. Take your time to ensure precise alignment and prevent any misplacement.
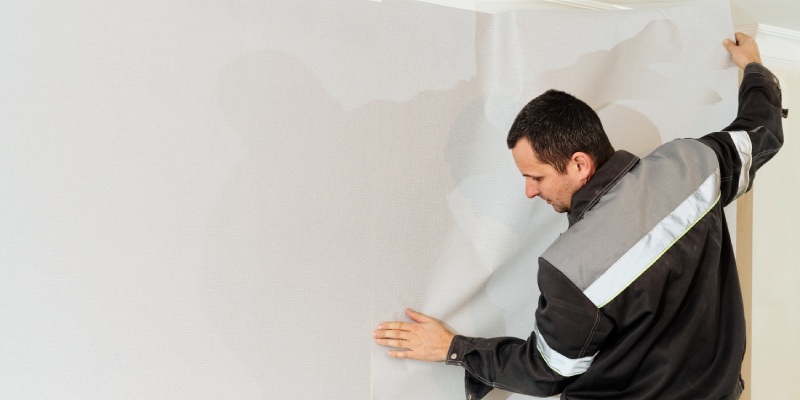
3. Removing Air Bubbles
As you apply the film, it’s common to encounter air bubbles trapped underneath. These bubbles can affect the film’s transparency and overall appearance. To remedy this, use a squeegee to gently press the film onto the surface, gradually working outwards from the center. If stubborn bubbles persist, lift the affected area of the film and reapply, smoothing it out as you go.
4. Connecting Electrical Components
Depending on the type of Switchable film, there will be electrical components involved. Follow the manufacturer’s instructions carefully to make the necessary connections. Ensure a secure and proper electrical connection to enable the smart film to function correctly. Double-check the wiring before proceeding to the next steps.
5. Final Adjustments
After connecting the electrical components, take a final look at the installed smart film. Ensure that it sits flat on the surface without any wrinkles, creases, or bubbles. If needed, make minor adjustments by gently lifting and reapplying specific areas. Patience and precision during this stage contribute significantly to a flawless installation.
6. Testing the Smart Film
Before concluding the installation process, conduct a thorough test of the film. Activate the electrical components and observe the transition between transparent and opaque states. Confirm that the film responds appropriately to the electrical signals. This step ensures that the installation is successful and the smart film is ready for regular use.
7. Sealing the Edges
For a polished finish, consider sealing the edges of the smart film. Use a clear, weather-resistant sealant to secure the film’s edges to the installation surface. This additional step helps prevent moisture or dust from entering and ensures the longevity of the installation.
8. Post-Installation Cleaning
Once the smart film is securely in place, perform a final cleaning to remove any remaining smudges or residues. Use a mild cleaning solution and a clean, soft cloth to wipe the surface gently. This step enhances the clarity of the smart film and maintains its aesthetic appeal.
9. Documenting the Installation
As a precautionary measure, document the installation process. Take photographs at different stages, highlighting key steps and the overall appearance of the installed smart film. This documentation can be valuable for reference in case of future maintenance or if assistance is needed.
By following these detailed steps to Install Smart Film, you ensure not only the optimal performance of the film but also a visually pleasing and professional outcome. Each step contributes to the overall success of the installation, guaranteeing that the Switchable film seamlessly integrates into your space.
Conclusion
We have covered a detailed guide on How to Install Smart Film. Installing smart film is a transformative process that can elevate the functionality and aesthetics of your space. By following the detailed installation guide and considering the maintenance tips provided, you can enjoy the numerous benefits of this innovative technology. Make the most of Switchable film to enhance energy efficiency, privacy control, and the overall appeal of your surroundings.
FAQs
How many types of smart film are there, and what are their differences?
There are two main types: self-adhesive and non-adhesive. The self-adhesive comes with an adhesive layer for easy application, while the non-adhesive film requires a separate adhesive to affix it to the surface.
What are the necessary tools and materials for installing smart film?
The necessary tools and materials for installation include a Smart Film Kit, squeegee, utility knife, cleaning solution, microfiber cloth or lint-free paper towel, gloves, and safety glasses.
What are the key safety precautions to take during Switchable film installation?
Safety precautions during installation include wearing gloves and safety glasses, working in a well-ventilated area, turning off power sources for electrical components, exercising caution with sharp tools, and securing the installation area to avoid interference.
How do I remove air bubbles during the Switchable film application?
To remove air bubbles during film application, use a squeegee to gently press the film onto the surface, gradually working outwards from the center. Lift the affected area if stubborn bubbles persist and reapply, smoothing it out as you go.
What is the final step after installing the Switchable film, and why is it important?
The final step is sealing the edges of the film with a clear, weather-resistant sealant. This step is crucial to prevent moisture or dust from entering, ensuring the longevity of the installation and providing a polished finish.