Rear projection film is a cutting-edge solution that can transform any transparent surface into a dynamic projection screen. Whether you’re looking to enhance your business’s storefront, create an immersive home theater experience, or implement interactive digital signage, rear projection film is a versatile tool.
In this article, we will provide you with a step-by-step guide on How To Install Rear Projection Film On Glass, which ensures you achieve professional results.
Necessary Materials
Before diving into the installation process, gather the following materials:
- Rear Projection Film: Choose a high-quality suitable for your application.
- Adhesive Solution: Ensure you have the appropriate adhesive for bonding the film to the glass.
- Microfiber Cloth: A lint-free microfiber cloth is essential for surface preparation and cleaning.
- Projector: Select a compatible projector based on your display needs.
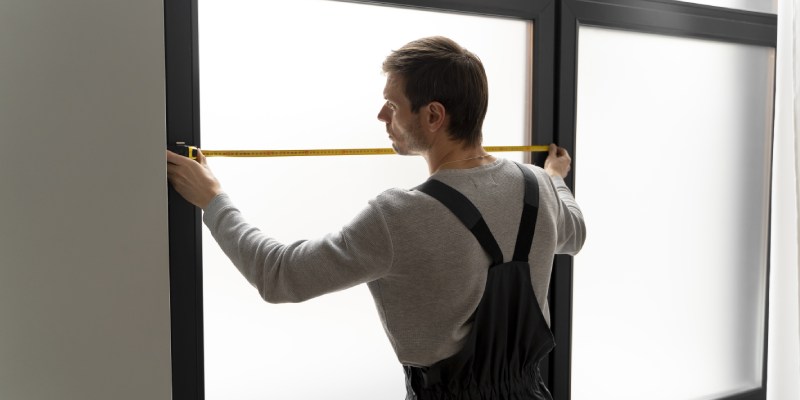
- Tape Measure: You’ll need this to measure and cut the film accurately.
- Scissors or Cutting Tool: To trim the film to the right size.
- Squeegee: A squeegee helps in removing air bubbles during installation.
- Cleaning Solution: Use a gentle cleaning solution to prepare the glass surface.
Pre-Installation Preparation
Let’s understand Pre-Installation Preparation.
Preparing the Glass Surface
Start by thoroughly cleaning the glass surface to which you plan to apply the rear projection film to. This step is crucial for optimal image clarity and quality. Use a cleaning solution and a microfiber cloth to remove any dirt, smudges, and dust. Ensure the surface is spotless and dry before proceeding.
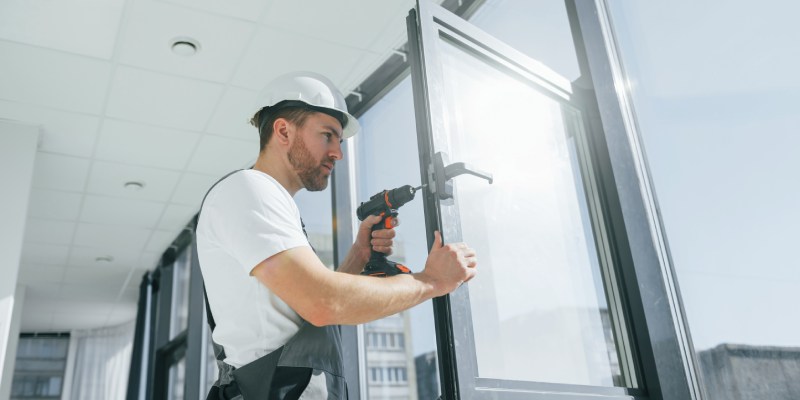
Setting up the Projector
- Place your projector in the desired location behind the glass. It’s essential that the projector is level and positioned correctly to achieve a uniform and focused projection.
- Test the projector to ensure it is functioning correctly and projecting the image precisely where you want it on the glass.
How To Install Rear Projection Film On Glass
Let’s explore the steps on How To Install Rear Projection Film On Glass.
Step 1: Cleaning the Glass Surface
After the glass surface is clean and dry, utilize a microfiber cloth to remove any remaining lint or dust particles, ensuring that the surface is absolutely pristine and prepared for the installation of the rear projection film.
Step 2: Applying the Adhesive
The next critical step is to apply the adhesive solution to the glass surface. Apply a thin and even layer of adhesive, taking care not to use excessive amounts, which can result in undesirable bubbles or wrinkles in the film.
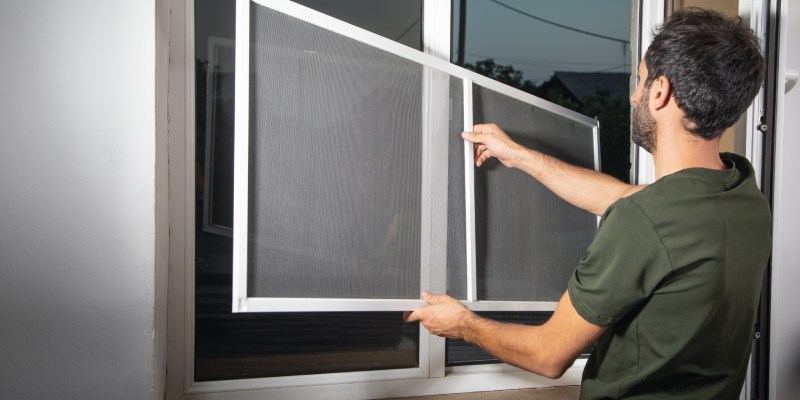
Step 3: Positioning the Film
Gently and meticulously lay the rear projection film onto the adhesive-coated glass surface, commencing from one corner and carefully smoothing the film out as you progress. It is of utmost importance to work slowly and attentively to ensure that there are no air bubbles or wrinkles in the film, which can affect the quality of the projection.
Step 4: Removing Air Bubbles
A squeegee is an invaluable tool in the process of eliminating any air bubbles that may be trapped between the glass and the film. Starting from the center, work your way outward while exerting consistent and even pressure to ensure a smooth, bubble-free installation.
Step 5: Trimming the Excess Film
Precision is key in trimming any excess film. Utilize scissors or a cutting tool to ensure that it fits the glass surface perfectly. Attention to detail in this step is essential for achieving a professional finish.
Step 6: Testing and Adjustments
After successful installation, it is crucial to test the projector to ensure that the projection is correctly aligned and effectively covers the entire film surface. Be prepared to make adjustments to the projector’s settings, such as brightness and focus, to achieve the optimum level of clarity and image quality.
Step 7: Maintenance and Cleaning
To preserve the image quality and extend the life of your rear projection film installation, regular maintenance is essential. Use a microfiber cloth and a gentle cleaning solution for periodic cleaning. Avoid abrasive materials and harsh chemicals that may damage the film. By maintaining it, you ensure consistent image quality and the longevity of your installation.
Creative Applications of Rear projection film
It is a versatile solution that opens up various creative opportunities. Here are some popular applications:
- Storefront Advertising: Transform your business window into a dynamic and eye-catching advertising display. Project ads, promotional videos, and engaging content to attract passersby.
- Art Installations: Artists can create interactive and immersive installations by blending digital and physical art for unique experiences.
- Interactive Displays: Implement touch-sensitive surfaces in museums, science centers, or exhibitions for informative and engaging content.
- Virtual Aquariums: Create mesmerizing virtual underwater scenes on glass surfaces for homes and businesses.
- Trade Shows and Exhibitions: Make your booth stand out by showcasing products or services in an attention-grabbing way.
- Event Backdrops: Whether it’s a wedding, corporate event, or stage performance, set the mood with dynamic visuals as a captivating backdrop.
- Architectural Integration: Transform windows or glass partitions into dynamic information displays or aesthetic elements in architectural designs.
- Retail Enhancements: Enhance the shopping experience with virtual try-on mirrors, interactive fitting rooms, and engaging product displays.
- Education and Training: Create engaging and interactive learning experiences in classrooms or corporate training sessions with immersive presentations and simulations.
- Entertainment Centers: Use it in theme parks and entertainment centers for immersive rides, interactive exhibits, and captivating displays.
These applications highlight the versatility of this technology, making it a valuable tool for businesses, artists, educators, and event planners looking to create impactful and engaging experiences.
Cost and Durability
Rear projection film is a cost-effective alternative to traditional displays and can last for several years with proper care. Consider it as a long-term investment that enhances your business or entertainment setup.
Troubleshooting Common Issues
If you encounter issues such as hotspots, uneven lighting, or poor image quality, refer to the troubleshooting section in your product’s manual or seek professional assistance. Identifying and addressing issues promptly can ensure your display continues to perform at its best.
Conclusion
We have provided a detailed guide on How To Install Rear Projection Film On Glass. Installing rear projection film on glass offers an exciting way to create captivating displays and experiences. With the right materials and attention to detail, you can unlock the full potential of this innovative technology. Get started and transform your space with rear projection film!
FAQs
Can I install rear projection film on any glass surface?
It works best on clean, transparent glass surfaces. Ensure the glass is free from imperfections for the best results.
Do I need professional help with the installation?
While DIY installation is possible, professional assistance can ensure a flawless result, especially for large or complex setups.
Can I use any projector with a rear projection film?
Most projectors are compatible, but it’s essential to choose one that suits your specific needs and space.
How do I prevent hotspots or uneven lighting in the projection film?
Ensure even lighting behind the film and adjust the projector’s settings to eliminate hotspots.
How often should I clean the rear projection film?
Regular cleaning is essential for maintaining image quality. Clean it when you notice dust or smudges.